| View previous topic :: View next topic |
| Author |
Message |
Shawn
Full Licence

Joined: 16 Sep 2005
Posts: 385
Location: Redlands, Brisbane, Australia
|
|
| Back to top |
|
Triumph Man
valued contributor

Joined: 13 Sep 2003
Posts: 1890
|
|
| Back to top |
|
Shawn
Full Licence
Joined: 16 Sep 2005
Posts: 385
Location: Redlands, Brisbane, Australia
|
|
| Back to top |
|
oliver-morrisminor
Full Licence

Joined: 14 Nov 2005
Posts: 998
Location: Brisbane, Redlands.
|
 Posted: Sun Oct 14, 2007 7:32 pm Post subject: Posted: Sun Oct 14, 2007 7:32 pm Post subject: |
 |
|
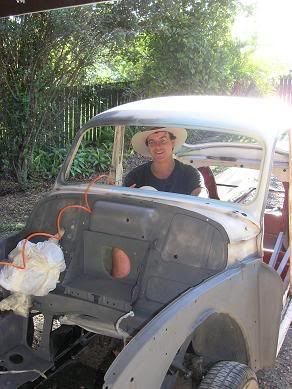
Keep it up Shawn looking good.
See you next Sunday,
with or without your Morrie,
there's always next year!
|
|
| Back to top |
|
Triumph Man
valued contributor
Joined: 13 Sep 2003
Posts: 1890
|
|
| Back to top |
|
Shawn
Full Licence
Joined: 16 Sep 2005
Posts: 385
Location: Redlands, Brisbane, Australia
|
|
| Back to top |
|
Triumph Man
valued contributor
Joined: 13 Sep 2003
Posts: 1890
|
|
| Back to top |
|
Scouse
moderator

Joined: 15 Sep 2003
Posts: 5266
Location: Wollondilly, NSW
|
|
| Back to top |
|
Triumph Man
valued contributor
Joined: 13 Sep 2003
Posts: 1890
|
|
| Back to top |
|
Shawn
Full Licence
Joined: 16 Sep 2005
Posts: 385
Location: Redlands, Brisbane, Australia
|
|
| Back to top |
|
grant69
moderator

Joined: 27 Jan 2004
Posts: 2796
Location: Cairns Nth Qld
|
| Posted: Sun Oct 21, 2007 9:59 am Post subject: |
|
|
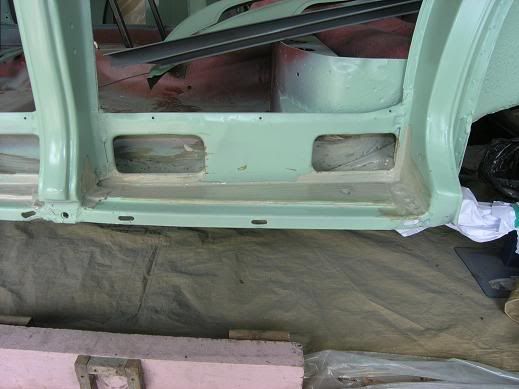
| Top job Shawn, I always use an etch primer that can remain unpainted for a couple of months, this is because the thinners in paint can make the filler sink back, so you may have perfect panels when you prime them but after a week or two you can sometimes see repairs you thought were fine. So if I have done alot of repairs I always leave it for a couple of weeks before painting top coat , so I can fix any little spots that appear before top coating. I didn't leave my ute long enough (one week) and the side of the tray you can see where the filler has sunk back
|
|
| Back to top |
|
John Ballard
valued contributor

Joined: 11 Feb 2004
Posts: 2646
Location: Dubbo NSW
|
|
| Back to top |
|
Shawn
Full Licence
Joined: 16 Sep 2005
Posts: 385
Location: Redlands, Brisbane, Australia
|
| Posted: Sun Oct 21, 2007 10:07 pm Post subject: |
|
|
| John Ballard wrote: | Shawn. I hope you have reinforced bonnet across lip.
Mine cracked in two places after final paint and assembly. 
Easy modification just fit 8mm rod accross lip in center and spot weld
Mine goes Right across bonnet, but about 300 each side of center will do.
Hope this helps.
   |
I've never heard of that fix before, but I can see where it'd be effective. I've noticed a fair bit of flex across the front lip. Roughly closing the bonnet wouldn't help either. I'll have to think about that one...
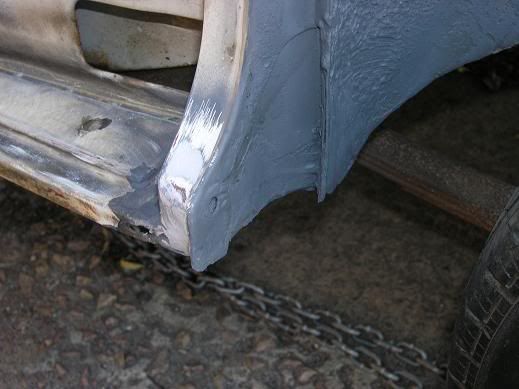
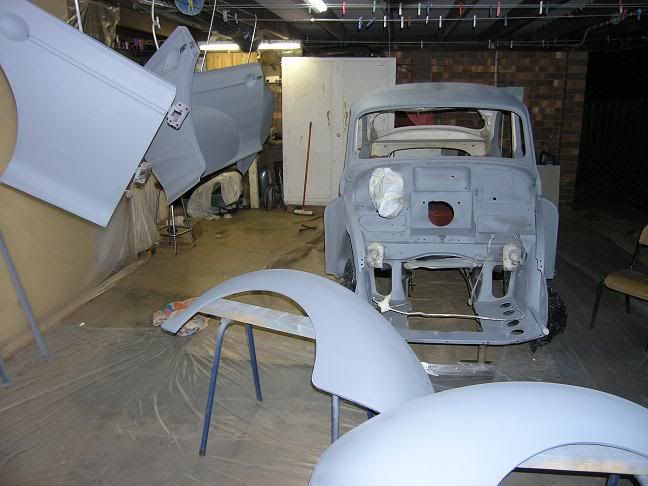
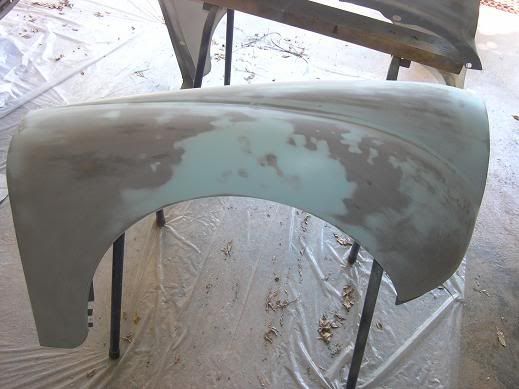
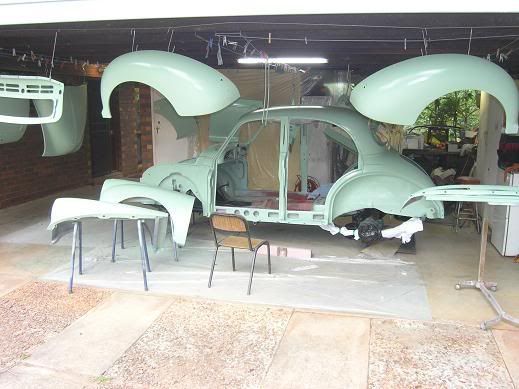
As for today's effort, it's a bit of a mixed bag.
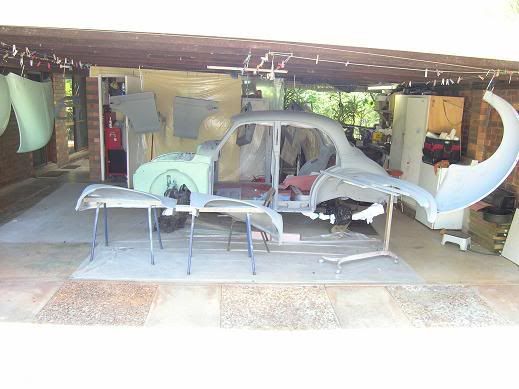
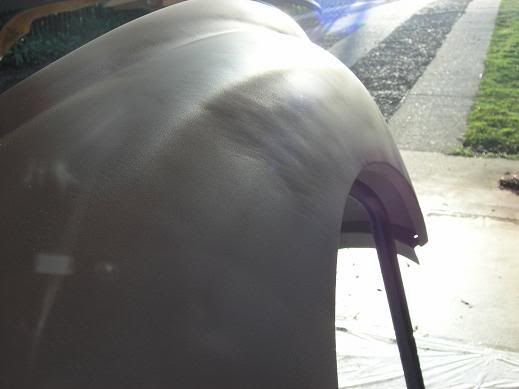
Further priming and sanding, so not really much to show, except that the "from a certain angle, in a certain light" thing makes all the difference in the world. This front guard feels (to my hands at least) perfectly flat. I hadn't spray puttied the front guards, and the afternoon sun reminded me just how rough "bare metal" is.
Obviously, there's more work to be done here...
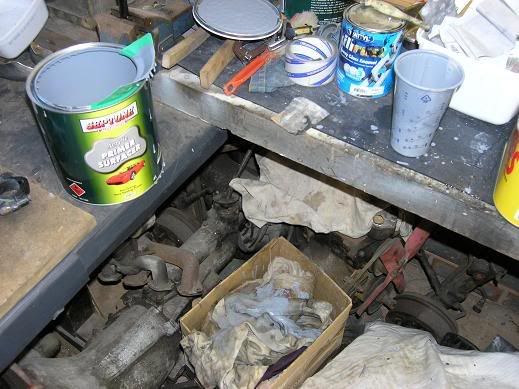
Secondly some useful tools. No one had mentioned the measuring cup and pouring spout in anything I'd read about painting, and I can't imagine doing a job like this without them. Simple, but sooo much cleaner and easier. They're both made of slippery, flexible plastic too, so you just let the paint dry on them and flex them to break it off. And to think that they were both impluse buys at the paintshop!
And that box of filthy rags isn't just a box of filthy rags. It's a "left over paint disposal device". I pour any dregs of left over paint and thinners into it and let it dry out. Previously, I might have poured it into a discreet spot in the garden...
|
|
| Back to top |
|
grant69
moderator
Joined: 27 Jan 2004
Posts: 2796
Location: Cairns Nth Qld
|
| Posted: Mon Oct 22, 2007 8:18 am Post subject: |
|
|
| Shawn, watch your rags as they can spontaneously combust, do not store in your house or shed overnight
|
|
| Back to top |
|
Triumph Man
valued contributor
Joined: 13 Sep 2003
Posts: 1890
|
| Posted: Mon Oct 22, 2007 8:47 am Post subject: |
|
|
| grant69 wrote: | | Shawn, watch your rags as they can spontaneously combust, do not store in your house or shed overnight |
I've herd of this to, i through my thinners & wax & grease remover rags in an old bucket with some water in it, just enough water to soak up into the rags, & i dont leave them in the shed overnight.
My old paint goes into an old tin & is left to dry out, then in the bin.
I once had a few old thinners rags lying on the floor, & started the grinder up for some tiny job, i noticed the sparks going strait onto the rags, lucky nothing went up.
I have a fire extinguisher & fire blanket in my shed.
Trev
Aus
|
|
| Back to top |
|
Shawn
Full Licence
Joined: 16 Sep 2005
Posts: 385
Location: Redlands, Brisbane, Australia
|
|
| Back to top |
|
Shawn
Full Licence
Joined: 16 Sep 2005
Posts: 385
Location: Redlands, Brisbane, Australia
|
|
| Back to top |
|
dirty hands
At rest

Joined: 16 Jun 2006
Posts: 693
Location: Ipswich QLD
|
|
| Back to top |
|
Scouse
moderator
Joined: 15 Sep 2003
Posts: 5266
Location: Wollondilly, NSW
|
|
| Back to top |
|
Shawn
Full Licence
Joined: 16 Sep 2005
Posts: 385
Location: Redlands, Brisbane, Australia
|
| Posted: Mon Nov 05, 2007 6:41 am Post subject: |
|
|
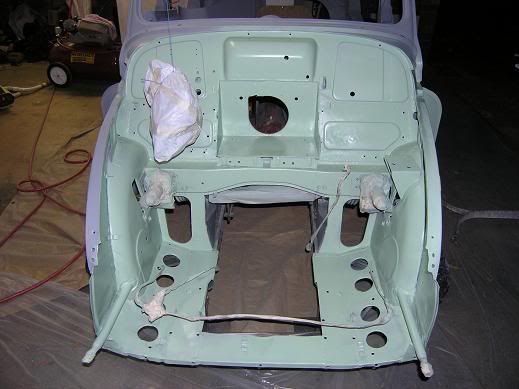
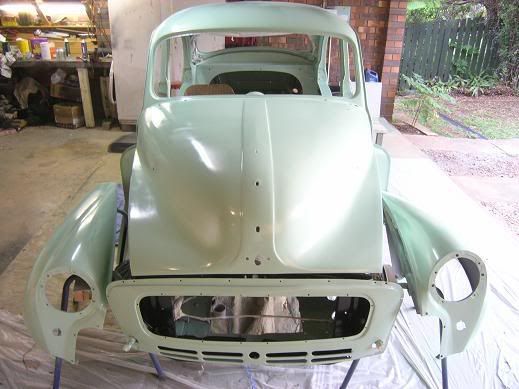
Thanks guys, It all went pretty well.
It took a bit of fiddling to get the gun settings right, and I found that a much thinner mixture than recommended by the paint shop (1:5 paint to thinners) gave best results. Better shine off the gun and much less orange peel.
The compressor kept up well, only requiring short catch up times with no noticeable effect on pressure and finish.
What you see there is three decent coats, using about 3 litres of paint. I'll need to rub back a few runs and will probably do a final light coat before polishing. The practise I did on the bonnet and boot showed that the paint is very forgiving; runs sanded back easily, leaving no evidence. I didn't think it'd be enough, but 4 litres IS enough to do a whole car inside and out.
Most of my panel repairs are effectively invisble, but I've found three small dents and one scratch which I didn't know existed. They're tiny, but if they don't sand out with the wet & dry, they'll become features 
All in all, I'm pretty happy with the results so far.
|
|
| Back to top |
|
Shawn
Full Licence
Joined: 16 Sep 2005
Posts: 385
Location: Redlands, Brisbane, Australia
|
|
| Back to top |
|
oliver-morrisminor
Full Licence
Joined: 14 Nov 2005
Posts: 998
Location: Brisbane, Redlands.
|
| Posted: Sat Nov 10, 2007 9:20 pm Post subject: |
|
|
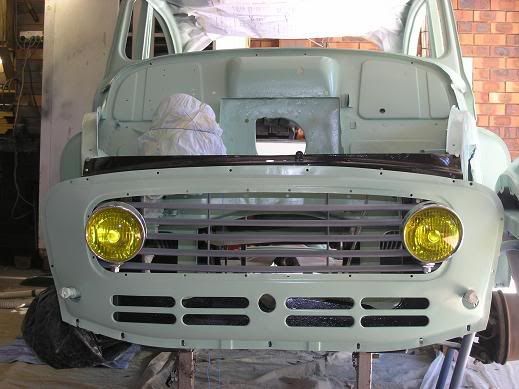
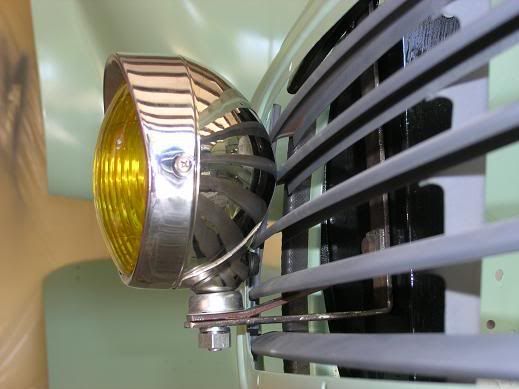
| The lights look good, but you cannot make a LOW LIGHT that way!
|
|
| Back to top |
|
Triumph Man
valued contributor
Joined: 13 Sep 2003
Posts: 1890
|
|
| Back to top |
|
Shawn
Full Licence
Joined: 16 Sep 2005
Posts: 385
Location: Redlands, Brisbane, Australia
|
|
| Back to top |
|
Triumph Man
valued contributor
Joined: 13 Sep 2003
Posts: 1890
|
|
| Back to top |
|
|